VMware Fusion Player 12 is at present free for personal utilize on the Mac!
Final month VMware appear VMware Fusion 12. The new version includes macOS Big Sur support for host and invitee. VMware too announced that the Mac version is at present Costless ($149 Normal Price) for personal use! Previously the Free VMware histrion was only available on Windows. You can use it to test macOS, Windows x, or Linux. If you've ever wanted to set up upwards a macOS VM, now is the fourth dimension. It's never been easier to build a test VM, so allow'southward get started!
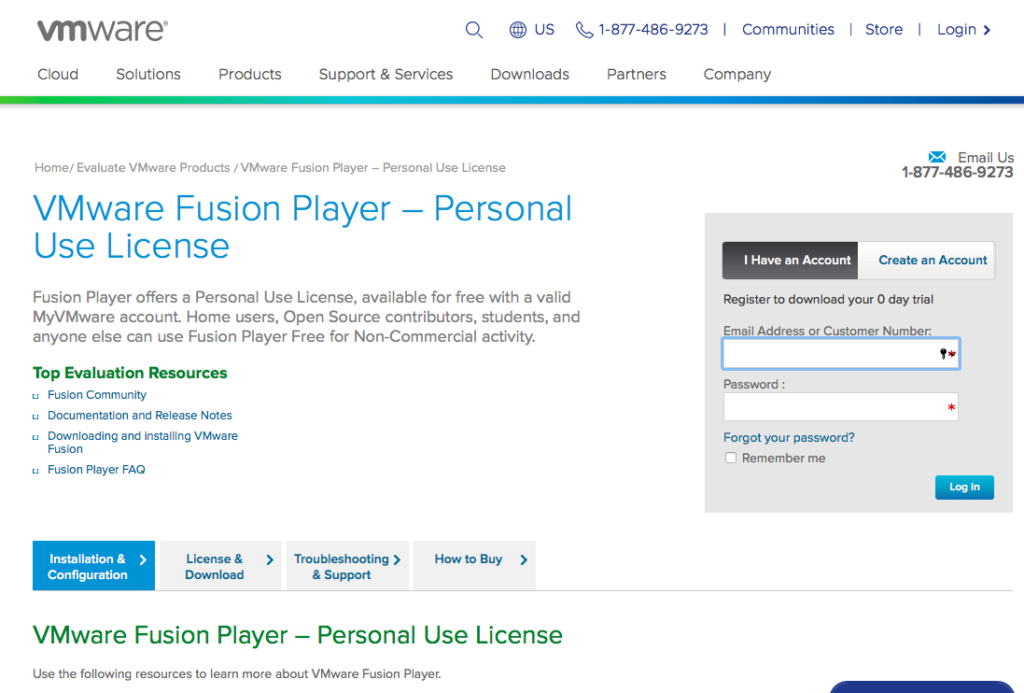
Create a New VMware Account.
VMware notes that the free version is available for the following situations.
Fusion Player offers a Personal Use License, available for free with a valid MyVMware business relationship. Domicile users, Open Source contributors, students, and anyone else tin can use Fusion Player Free for Non-Commercial action.
VMware.com
If you are 1 of those, head over to the registration site.
my.vmware.com/web/vmware/evalcenter?p=fusion-role player-personal
Once registered y'all will see your license key, be certain to document this somewhere as you lot will demand information technology when yous install VMware Fusion Player.
If you didn't and need to find your license primal later, employ this link.
This link also has a download expanse to get the the 600MB .dmg installer.
Install VMware Fusion Player 12
Open the .dmg and install Fusion Role player 12. NOTE: VMware Fusion 12 requires macOS Catalina or newer. Once consummate, open the application and you will be prompted to enter in the license key.
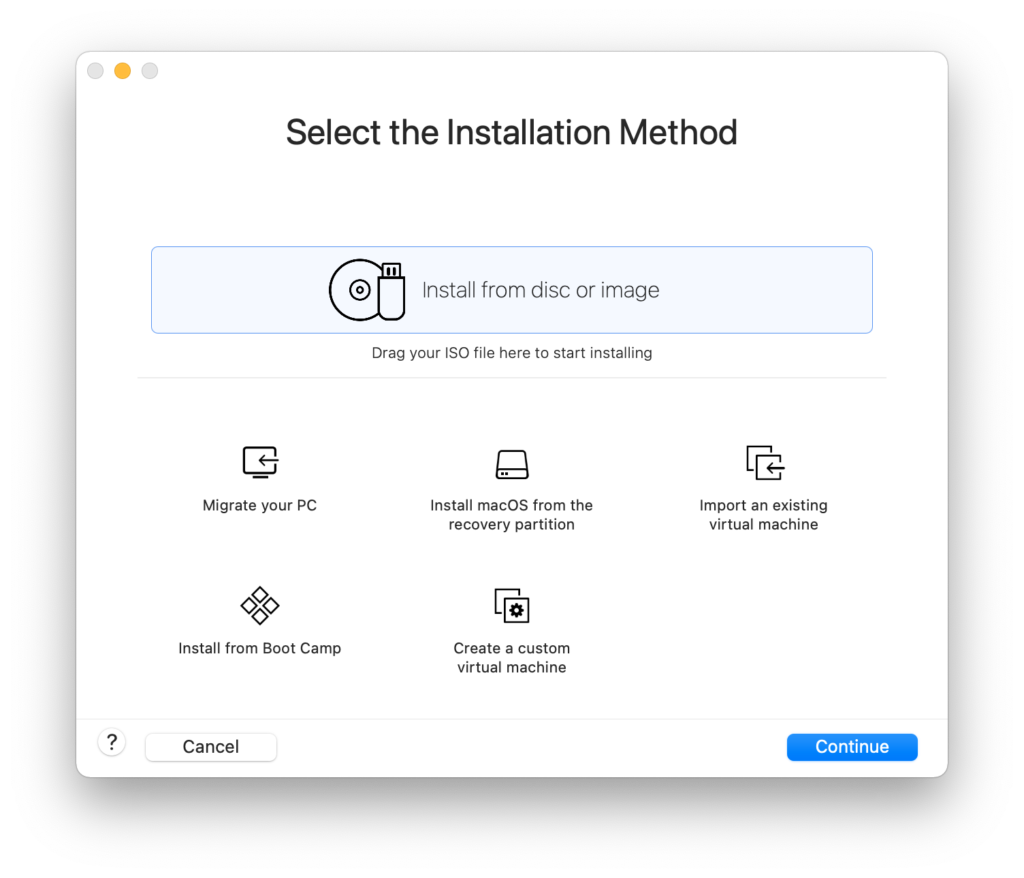
When you first get-go VMWare Fusion you will get a Select Install Method Screen. In the past you lot needed to run through a bunch of steps to create a macOS Install .ISO file. Not anymore, yous can just drag and drop the full Install macOS Install.app (or Windows iso or Linux .iso) over to this window to brainstorm!
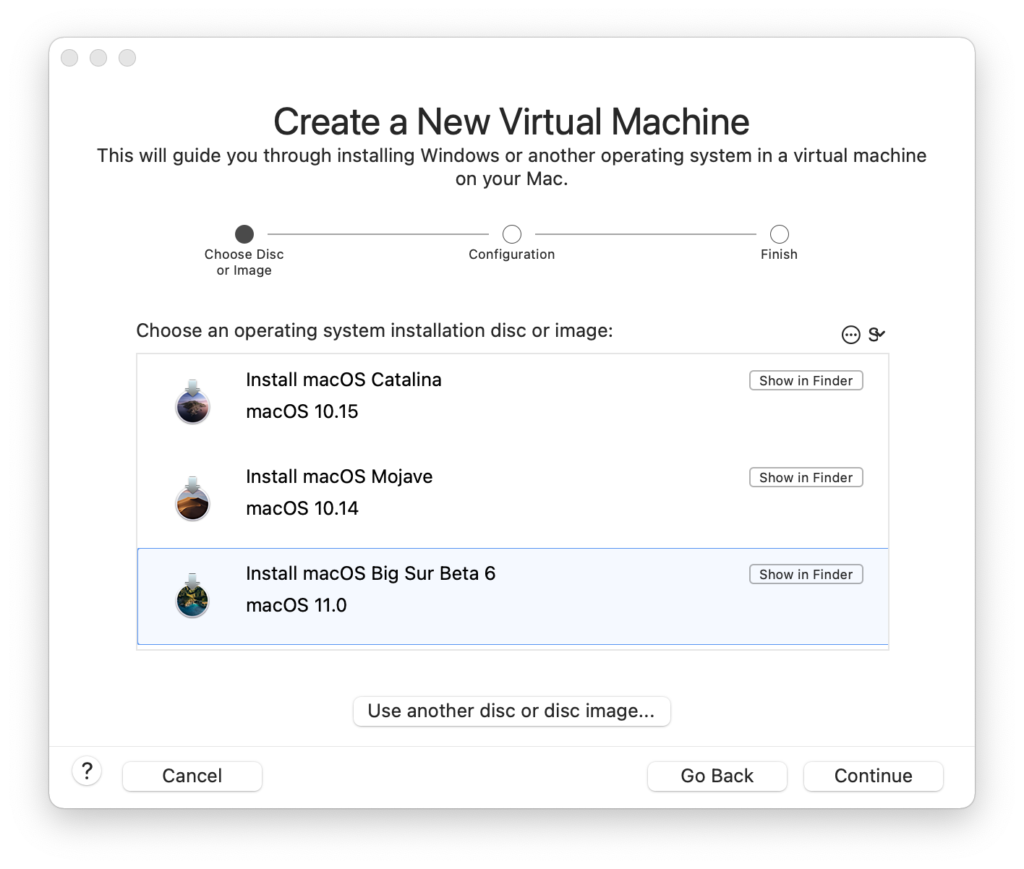
The side by side screen will let yous select macOS installer.app file. You will normally simply see the one that yous just dragged over. In my case, I have already installed 10.fourteen, 10.15 and 11.0. Click Keep.
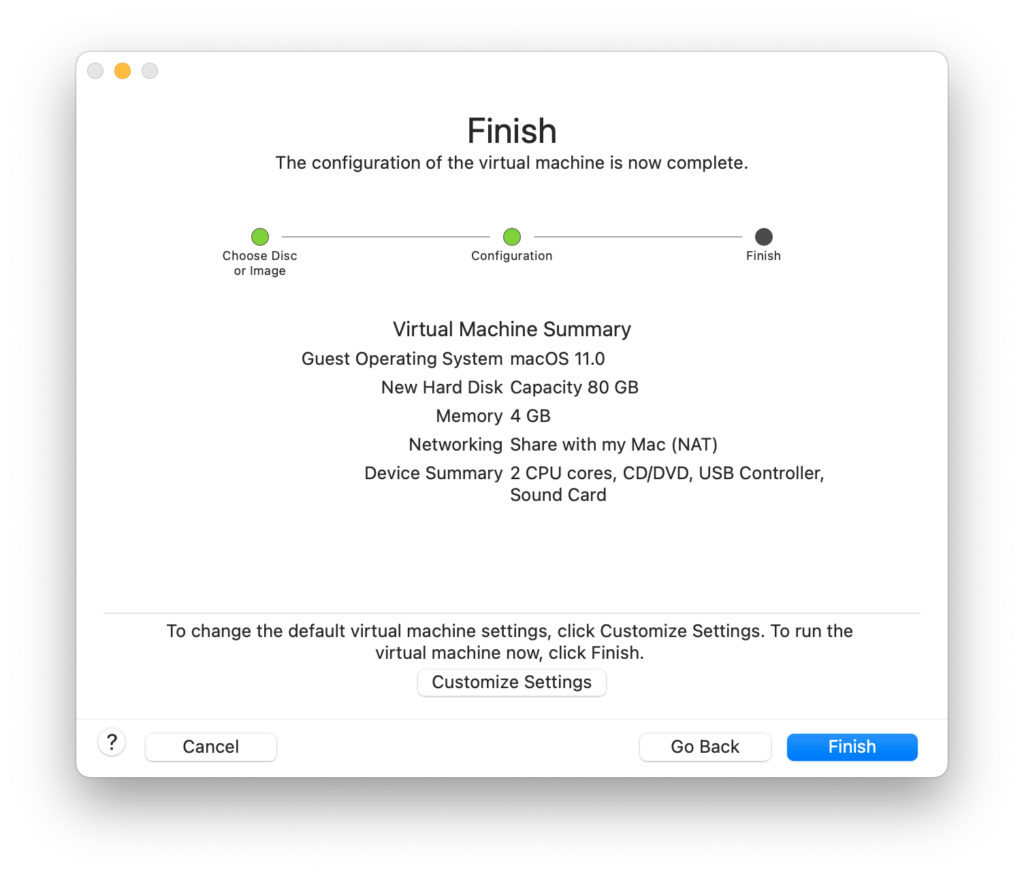
Y'all volition now come across a concluding finish screen, before y'all starting time to configure the VM.
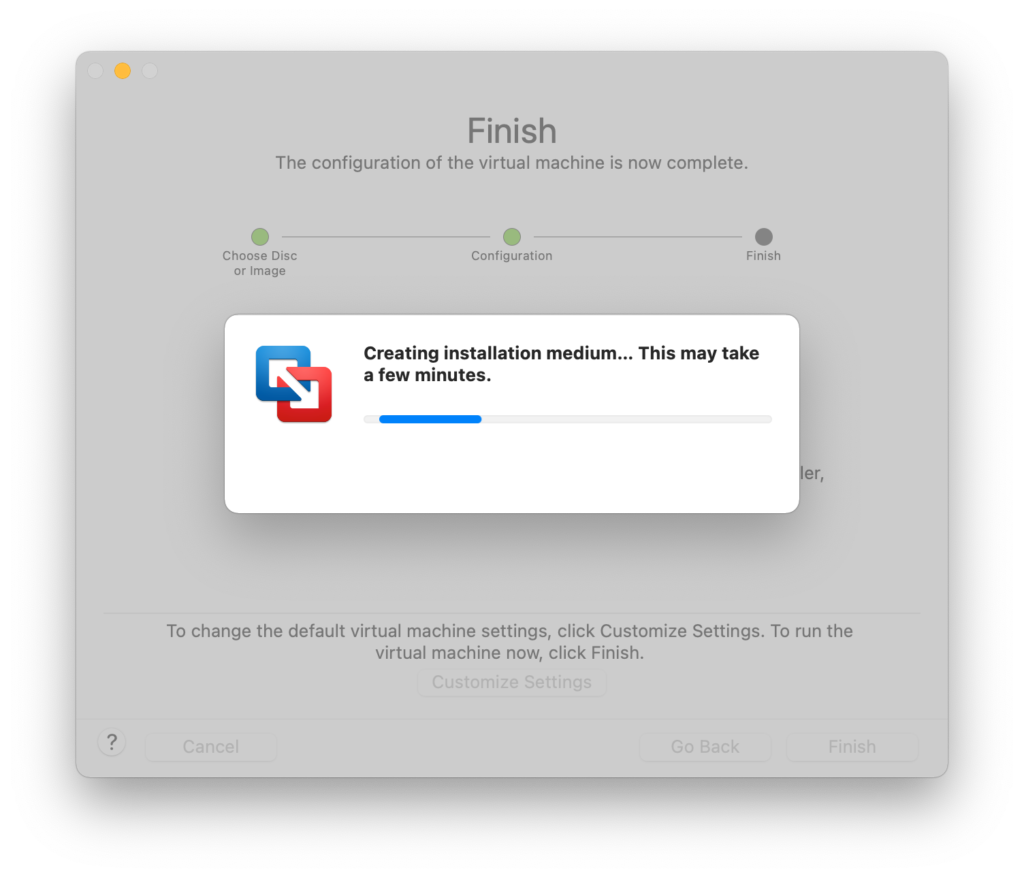
The next screen will tell you that VMware Fusion Thespian is creating installation media.
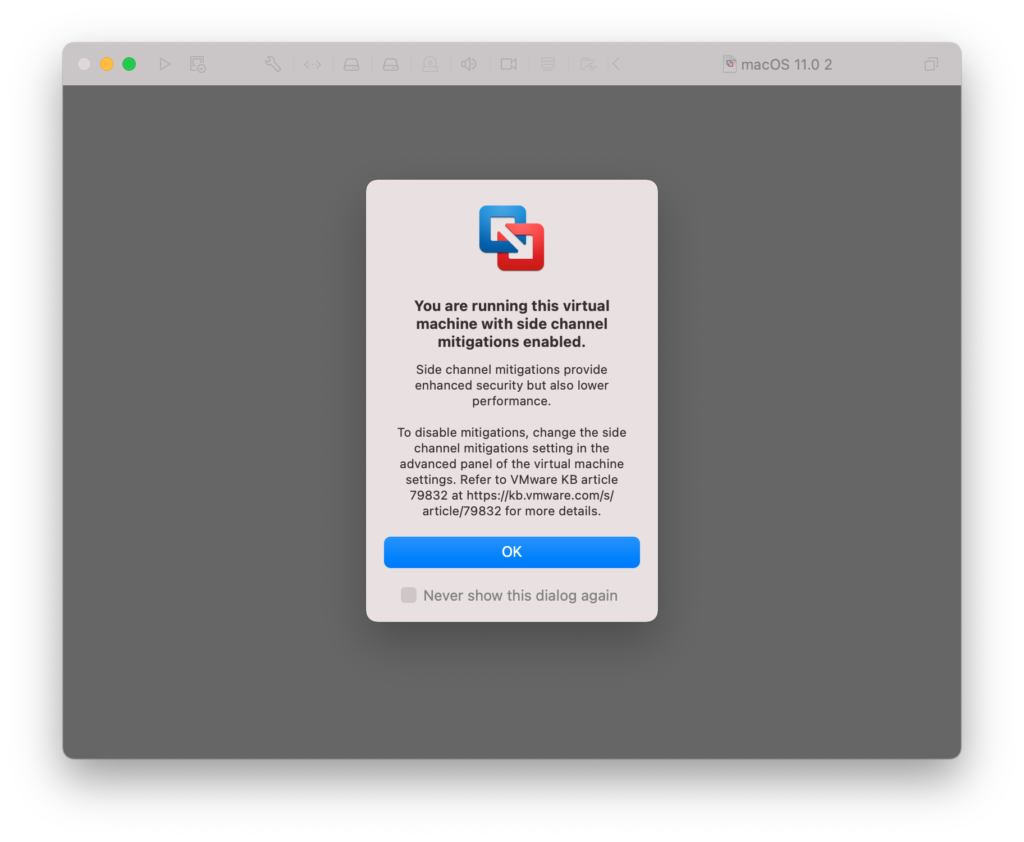
You lot will get a warning about running this VM machine with side aqueduct mitigations enable. It says that side channel mitigations provide enhanced security but lower operation. Yous tin can change the settings when the VM is not running in the Advanced console of the VM.
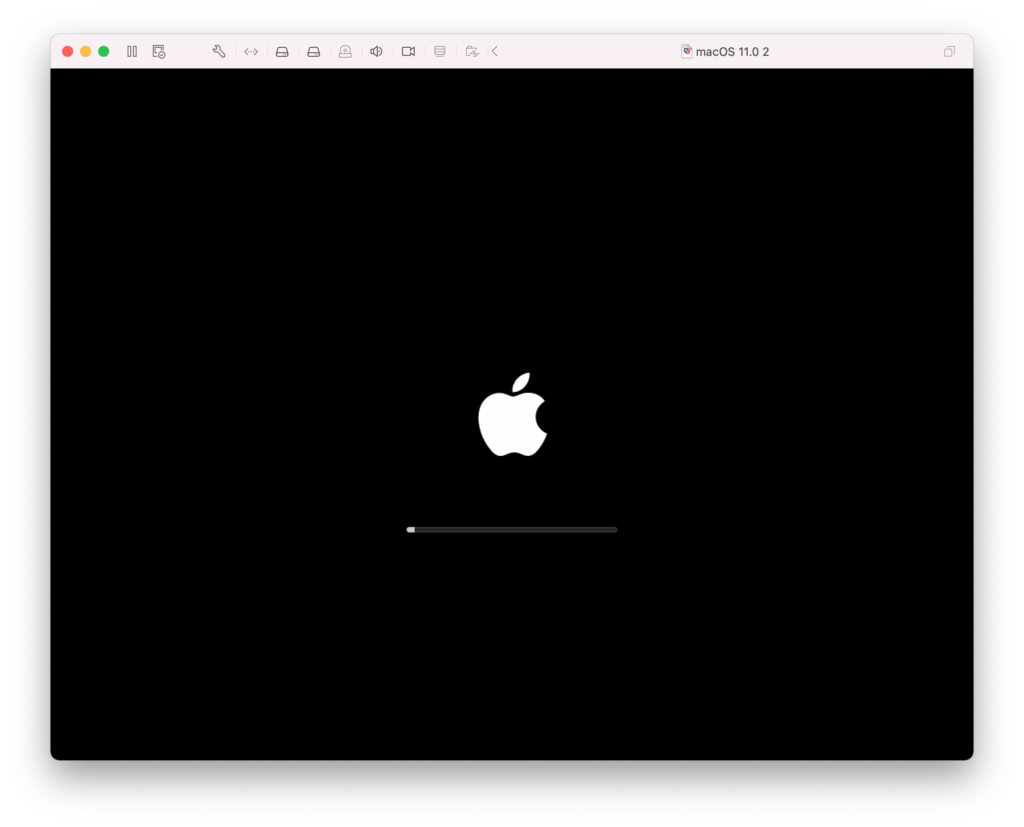
The new macOS VM is booting to the installer! One time booted, information technology volition be just like you lot booted into the recovery segmentation. All yous demand to do is select Install macOS to begin.
30 Minutes or so after you will be at the Setup Assistant Screen.
Congratulations! You've just congenital your first macOS virtual Car!
Snapshots
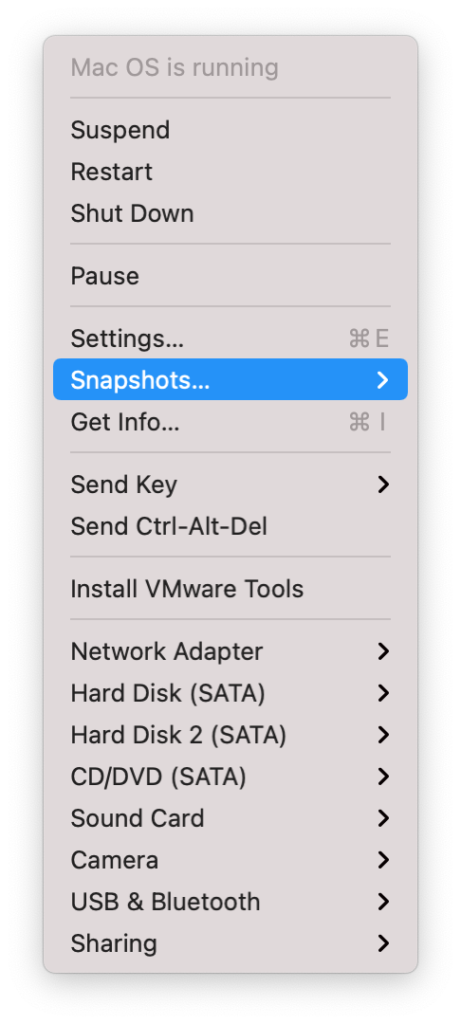
One of the best features about having a macOS virtual machine is snapshots. You lot can build out a fresh Os and then have a snapshot before you make any changes to the system. Did the test not work? No big deal! Instead of reinstalling the OS to test again, just revert back to a previous snapshot! It's literally that uncomplicated. You can admission snapshots from the Virtual Machine menu bar item.
Kick your macOS VM to Recovery Mode
Quick Mode – sudo nvram "recovery-kicking-style=unused" && sudo reboot
To become back to macOS out just reboot!
Thank you for the tip Mike! More info here – https://mrmacintosh.com/boot-to-net-recovery-recovery-sectionalization-or-diagnostics-from-macos/
2. Long Fashion.
If yous need to boot the VM to macOS Recovery mode, all you need to do is edit the .vmx file located in /Users/youruserfolder/Virtual Machines/vmnamehere
Right on the file and so select "Testify Package Contents". Inside will be your vmnamehere.vmx file. Right click on that file and edit information technology with your favorite text editor. Add this line at the very stop of the file and click save.
macosguest.forceRecoveryModeInstall = "True"
Outset upwardly the VM an y'all will now be in recovey mode.
To boot dorsum to macOS, open that same file and delete the line that you just added above and click relieve.
The final step is to delete the .nvram file in that aforementioned directory.
NOTE: ten/07/20
I am having problem booting to recovery with Big Sur Beta, I'm going to run a few more tests. This works fine on 10.14 and 10.15.
If you take any questions, get out a comment below!
VMware Fusion Player macOS

